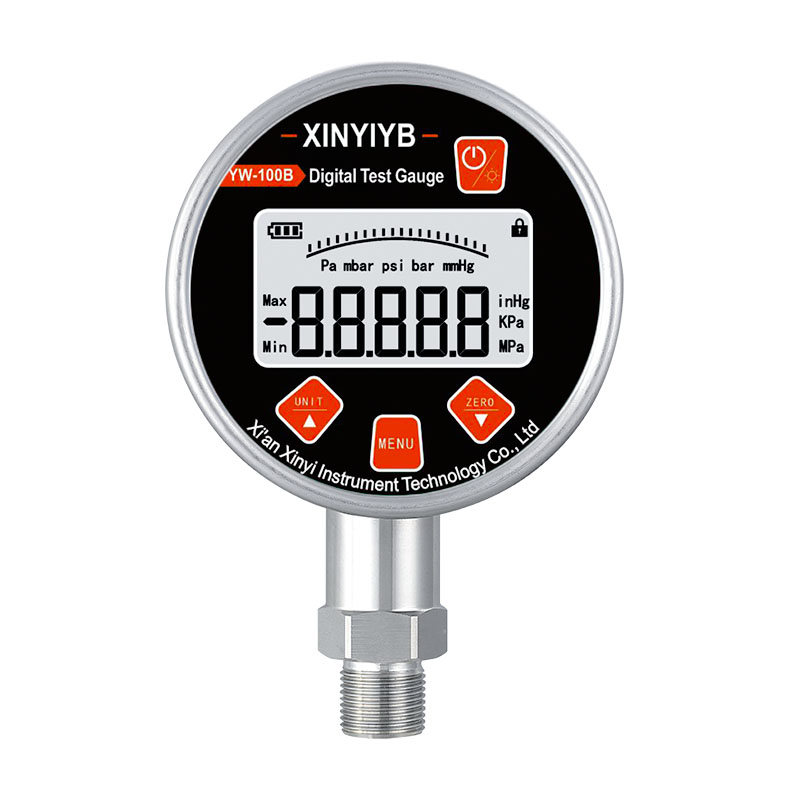
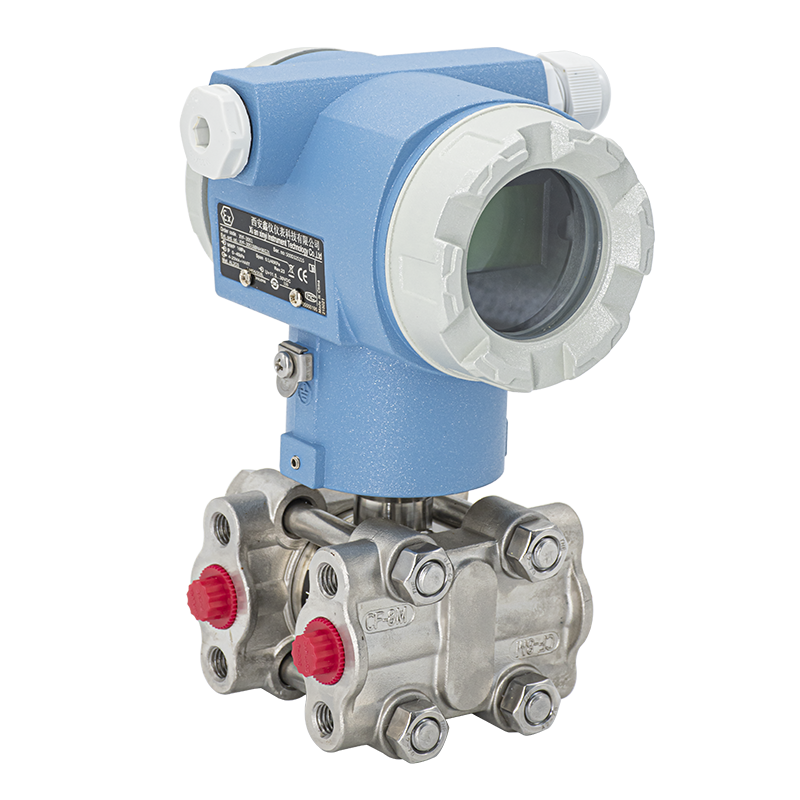
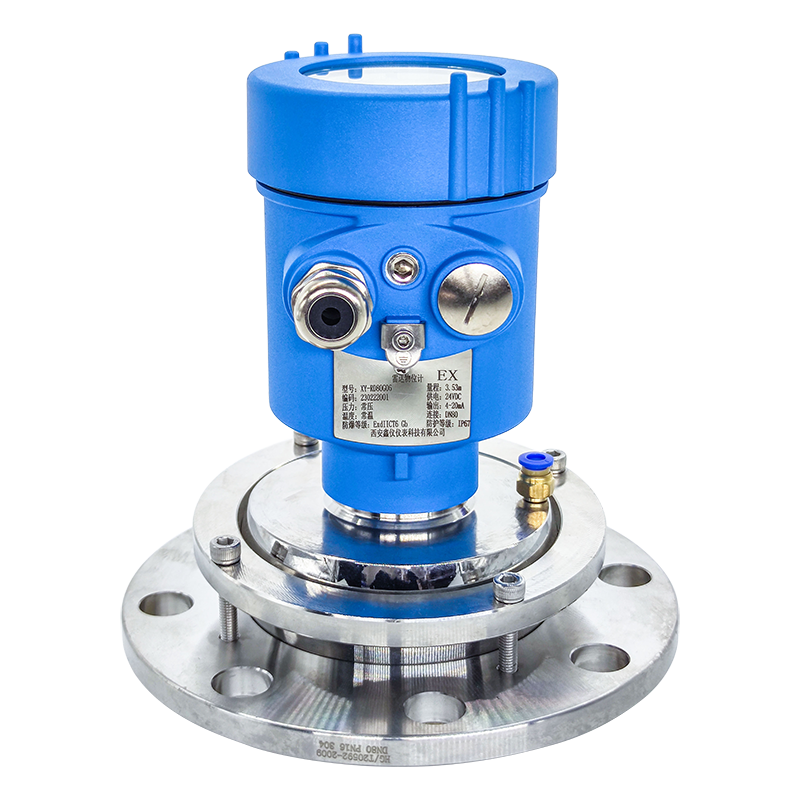
During long-term use, pressure gauges may experience measurement errors due to fatigue of elastic components, wear of transmission mechanisms, and chemical corrosion. Therefore, it is necessary to regularly calibrate the instruments, and new instruments should also be calibrated before installation and use to more appropriately estimate the reliability of the instrument's indicated values. The most commonly used method currently is the comparison method, which uses instruments such as pressure gauge calibrators and precision pressure gauges. So it is crucial to understand the principle of a pressure gauge calibrator and how to use it to calibrate pressure gauges in daily production.
一、Working principle of pressure gauge calibrator
The pressure gauge calibrator is filled with transformer oil (below 6MPa) or castor oil in a sealed container. Rotate the handwheel to push the piston forward, creating a pressure on the oil that is transmitted in all directions in a closed system. Therefore, the pressure entering the standard instrument, calibrated instrument, and standard instrument is equal. Therefore, using the method of comparison, the absolute error of the calibrated instrument can be obtained.
The accuracy of the pressure gauge calibrator mainly depends on the accuracy of precision pressure gauges, ranging from 0.4 to 0.25 levels. High precision requires the use of precision digital pressure gauges, with accuracy levels of 0.05 and 0.02, which can be used to calibrate standard spring tube pressure gauges, transmitters, etc
二、Verification principle
Calibration work is the process of comparing the calibrated instrument with the standard instrument under the same conditions. The selection principle of standard instruments is that when the allowable absolute error of the calibrated instrument is a tolerance, the allowable absolute error of the standard instrument should not exceed a tolerance of 1/3 (preferably not exceeding a tolerance of 1/5). In this way, it can be considered that the reading of the standard instrument is the true value. In addition, to prevent overtravel damage to the standard instrument, the measurement range of the standard instrument should be one level larger than that of the calibrated instrument. If the accuracy level of the calibrated instrument is higher than the indicated level, the instrument is qualified. Otherwise, it should be repaired, replaced, or downgraded for use.
三、Verification content
Verification is divided into on-site verification and laboratory verification. The verification content includes indication value error, variation, and linear adjustment. The specific steps are: first, evenly determine several calibrated points within the range of the calibrated meter (usually 5-6 points, with certain lower and upper limits of the ship's quantity), and then compare the indicated values of the standard meter point by point from small to large (up stroke) until the maximum value. Advance a little further until the pointer slightly exceeds the maximum value, and then perform a verification from large to small (down stroke). Repeat this process 2-3 times, and finally calculate and determine whether the instrument is qualified based on the definition of various technical indicators.

Chat Online

